This is part 3 of the “BDC series.” You can read part 1 here and part 2 here. This blog post will go into creating the Big Data Cluster on top of the Azure Kubernetes Service (AKS) cluster we created in Part 2. If you’d like to stay updated, without doing the heavy work, feel free to register for my newsletter. I will email out blog posts of my journey down the wonderful road of BDCs.
Before I get started I want to say that there are many ways to deploy a Big Data Cluster. There is a “Default configuration” way and a “Custom configuration” way. You can read more about the custom config way here. I will be posting blogs on the other ways to deploy a BDC but for the sake of this series I will be deploying the BDC via the default way. The BDC team at Microsoft is constantly revamping and tweaking the BDC deployment process in order to make it more streamline and easier.
[Please watch the below video *if* you need to setup your base machine]:
I have recorded an UPDATED VERSION using the latest version of Azure Data Studio (1.13.0), you can watch the video below:
To kick off the Big Data Cluster “Default configuration” creation, we will execute the following PowerShell command:
azdata bdc create
azdata bdc create
That will first prompt us to accept the license terms. Type y and Enter. Next it will ask to choose one of the following deployment configurations:
- aks-dev-test.json
- kubeadm-dev-test.json (default choice)
- minikube-dev-test.json
Since this series will focus on deploying the Big Data Cluster on Azure Kubernetes Service, choose option 1 and press Enter.
Now you will be prompted to enter the information to the following parameters:
CONTROLLER_USERNAME=admin
CONTROLLER_PASSWORD=<password>
MSSQL_SA_PASSWORD=<password>
KNOX_PASSWORD=<password>
Note: Make sure you keep the above values saved some place.
Once you provide each of the above values, and press Enter, the BDC creation will begin. The first thing that happens is the creation of the Controller service. Once the Controller service is created, it installs and configures the rest of the services like master, compute, data and storage pools.
This will take some time so please be patient. At the end, you will see “Cluster deployed successfully.” (see screenshot below)

After getting the “Cluster deployed successfully” message, it’s time to get the endpoint IPs and Ports. To do that, execute the following command:
azdata bdc endpoint list -o table
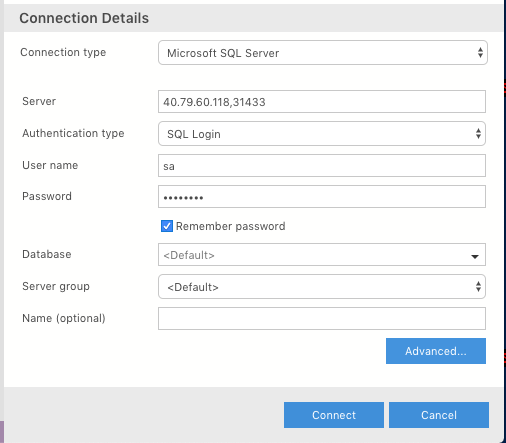
You will get the following output (see screenshot below. Click to enlarge). Take the “SQL Server Master Instance Front-End” endpoint address and use that for the “Server” in Azure Data Studio (see below). By the way, don’t worry about the IPs below, I deleted the cluster :)

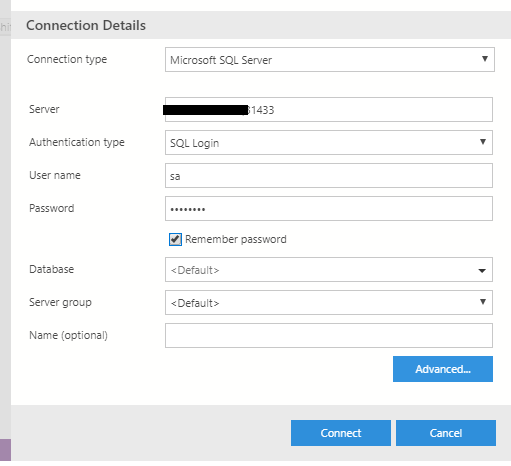
Use the ‘sa’ SQL login and the password you created when you set up the BDC (see below):
Once you log into the master instance via Azure Data Studio, you will see the following home screen:
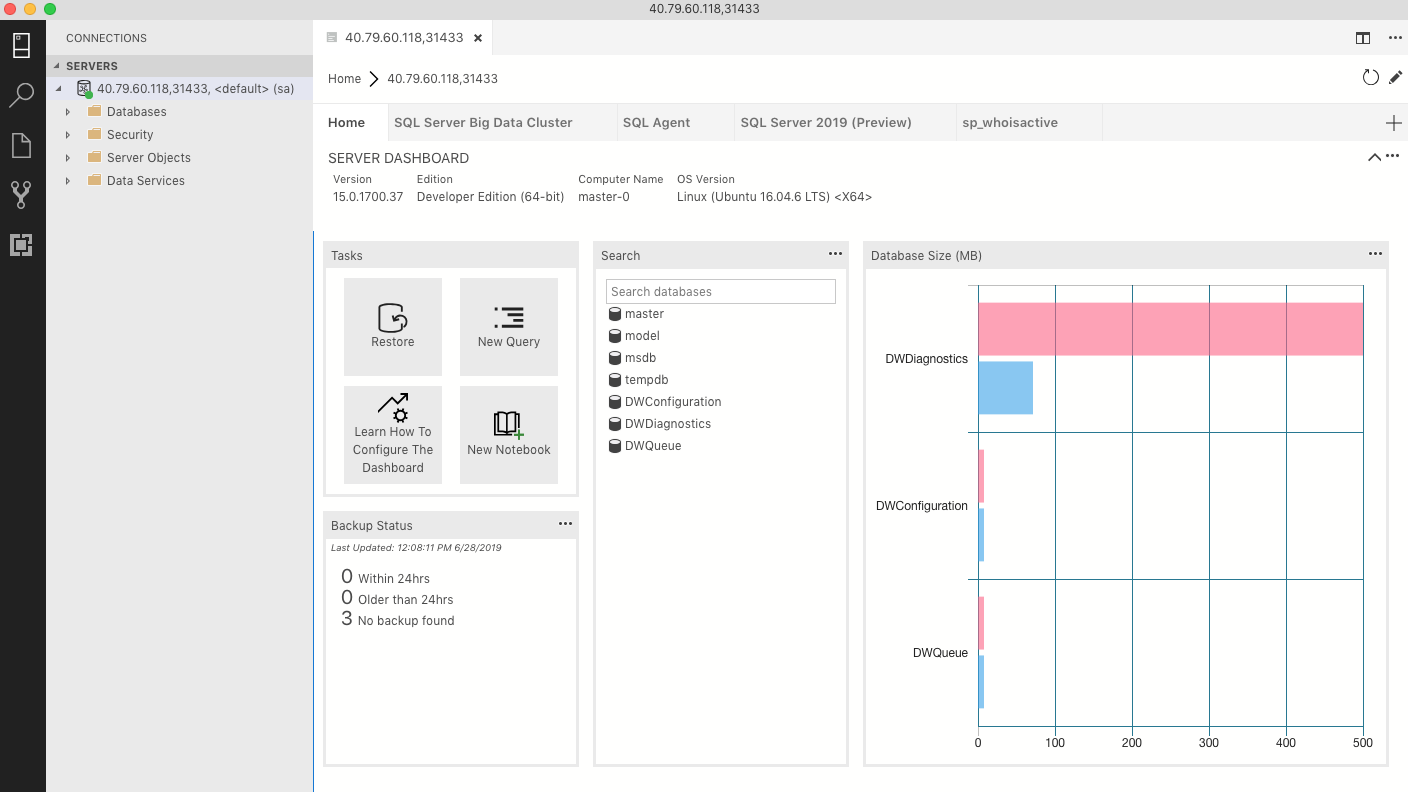
Congratulations! You have successfully deployed and logged into your SQL Server Big Data Cluster master instance. As you can see, aside from the Home tab, there is the “SQL Server Big Data Cluster” tab and the “SQL Serve 2019 (preview)” tab. The SQL Server BDC tab has two boxes, Tasks and Service Endpoints. The Service Endpoints are important to know as they list the IPs to the Controller, Grafana and Kibana dashboard, etc. In the next post of this BDC series I will go over the dashboards like Grafana and Kibana.
I am getting “Cluster is not ready after 15 minutes. check controller logs for more details”, and it goes up in minutes until I cancel it out. Where do i see controller logs? TIA
Are you deploying to AKS or on-prem K8s cluster? What versions do you have of azdata, kubernetes-cli and azure-cli?
AKS. I downloaded them with choco, so whatever is the latest i guess. how do i check?
Did you check out my base machine setup video?
I go over the entire setup process. Feel free to watch it and reach out to via the contact form with any questions.