If you’re like me and fairly new to containers and want to give it a try, the question is how? What (and how) is the quickest way to get setup with a Docker container environment?
The answer is: Docker Desktop for Windows (10)
In my previous blog post I talked about Docker Containers. This post will be on Installing Docker Desktop for Windows 10. I have a Surface Book 2 and this how you get Docker Desktop up and running:
Note: You will need to enable Hyper-V, as Docker uses it to create a shell VM called, MobyLinuxVM. If you do not enable Hyper-V before installing Docker for Desktop, you will get this error pop:
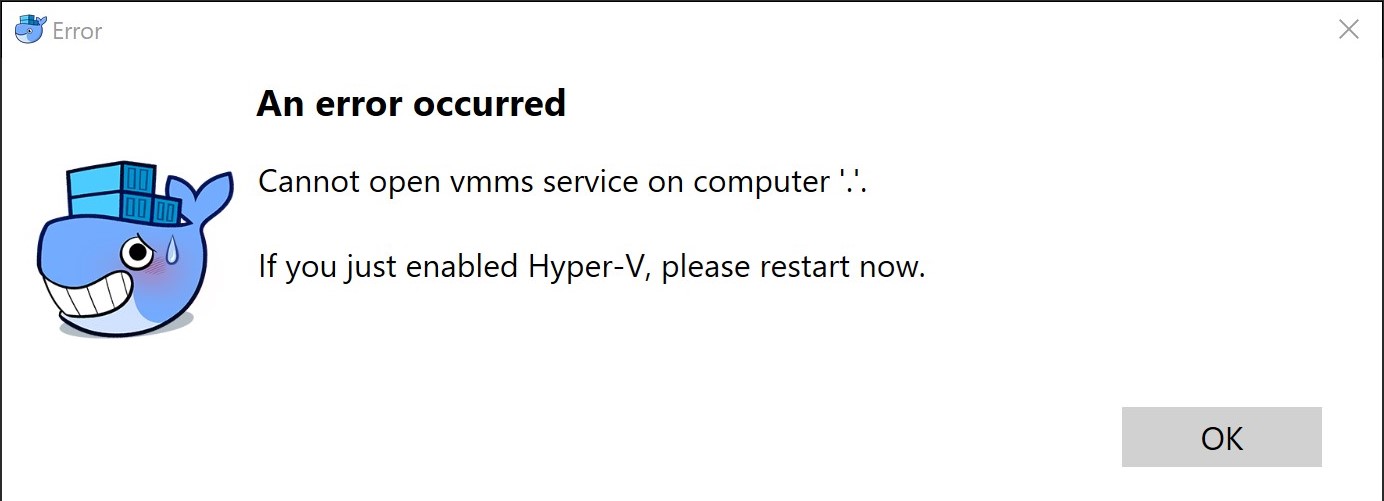
So let’s enable Hyper-V on Windows 10 first before we proceed with installing Docker for Desktop.
How to Enable Hyper-V on Windows 10
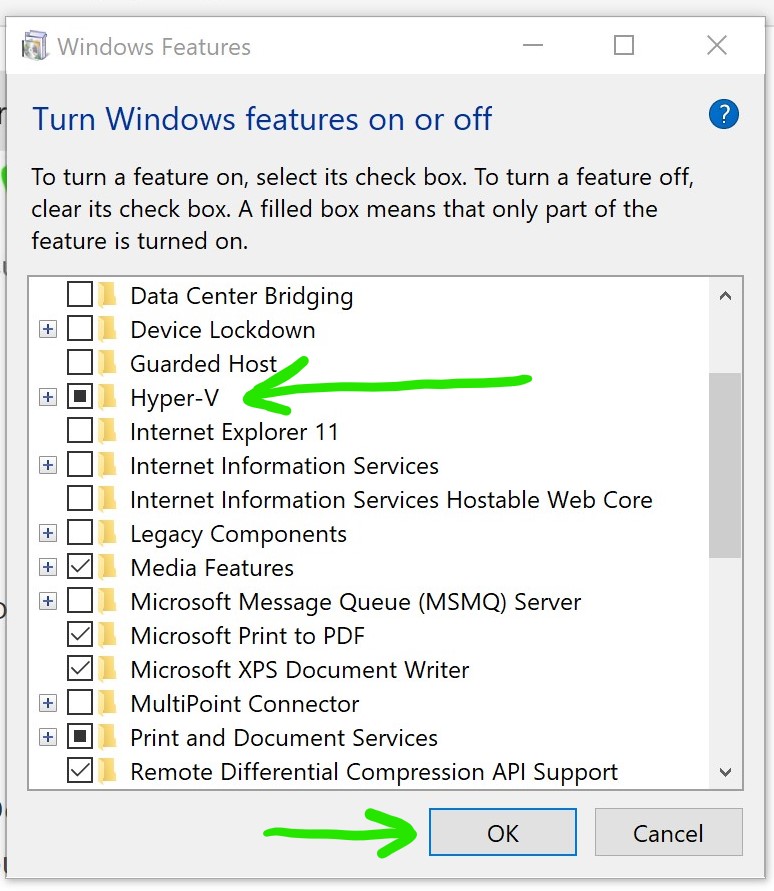
First, type “Hyper-V” in your search bar and click on the “Turn Windows features on or off” (see screenshot below):

Second, make sure to click the check box for “Hyper-V” and click OK (see screenshot)
Now you’re ready to install Docker for Desktop…
- Go to Docker website to download Docker Desktop for Windows (link)
- Once the download is completed (roughly 500 MB in size), double-click to install it
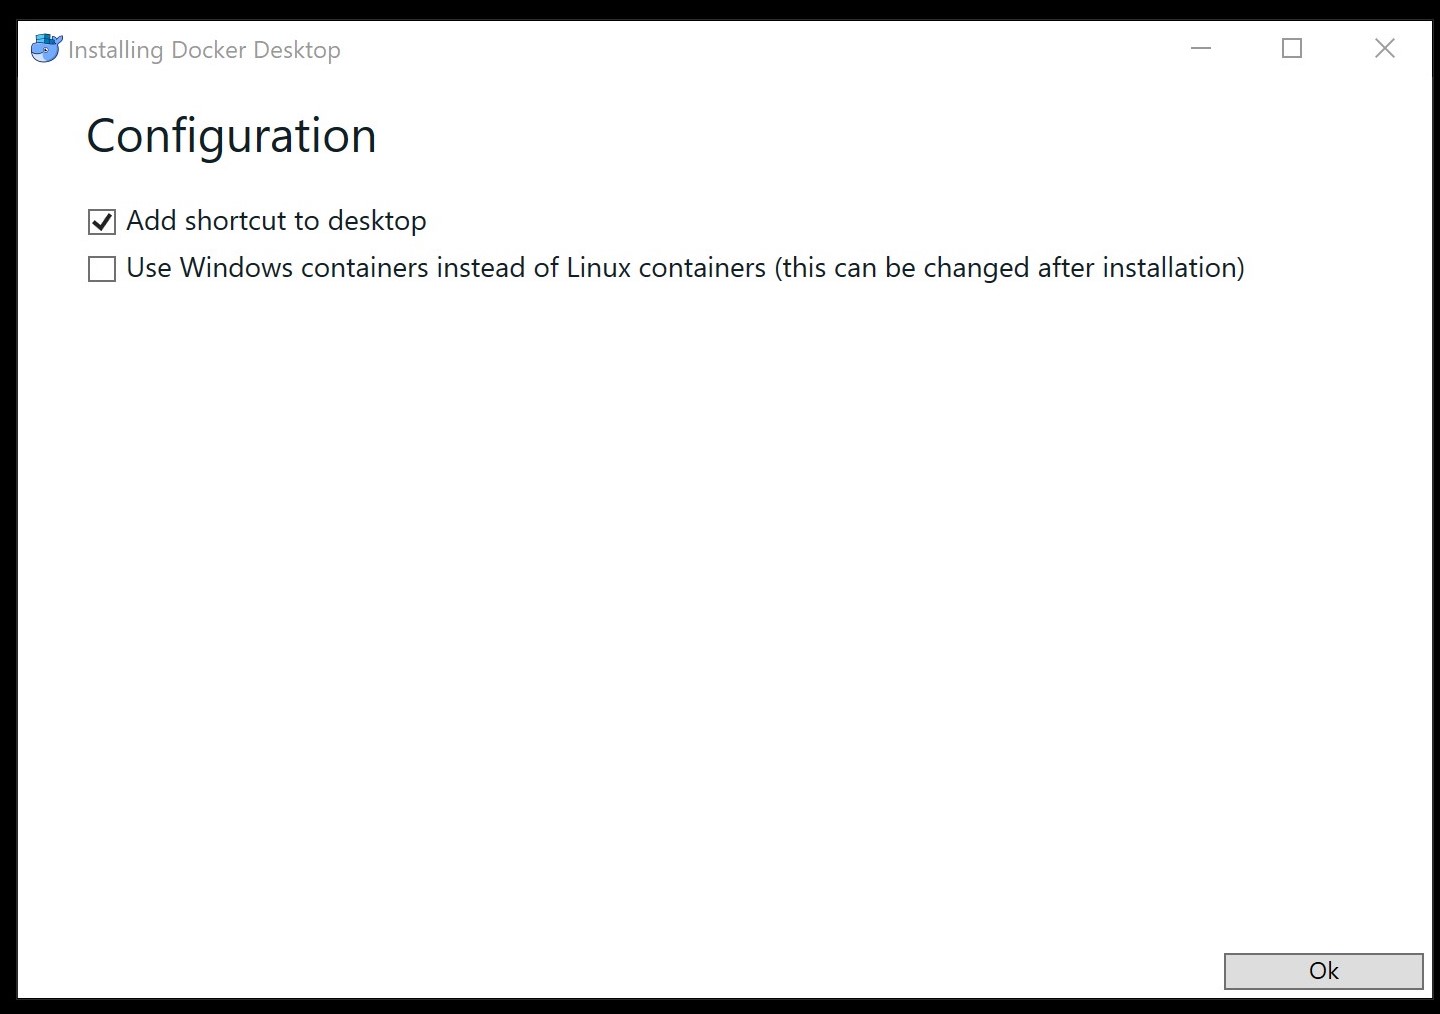
- One of the first screens that pops up during the install is the Configuration window. There are two options, “Add shortcut to desktop” and “Use Windows containers instead of Linux containers….”. I leave the default (screenshot below) and click Ok.
4. After you click Ok, you will see the app “unpacking files”…after that is done you should get a “Installation succeeded”, click the blue Close button and that’s it!
Now if you look on your desktop, you should see this cool little whale icon. Double click it to start Docker Desktop for Windows.
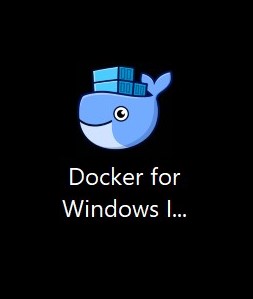
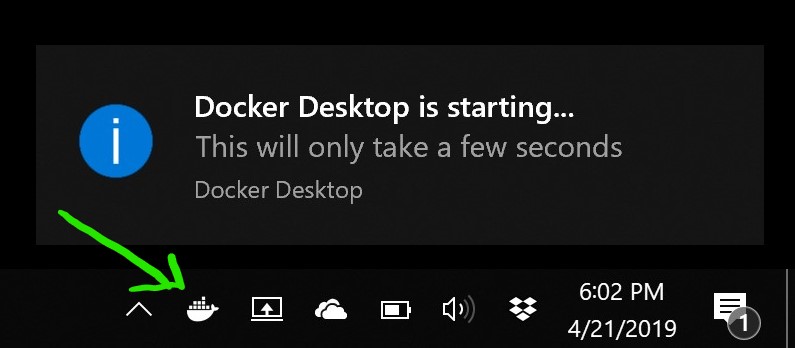
You might get this notification that Docker is starting…and a tiny whale icon with a bunch of containers on it (the Docker logo) in the system tray.
As soon as Docker Desktop is up you will get a pop up login window like the one below:
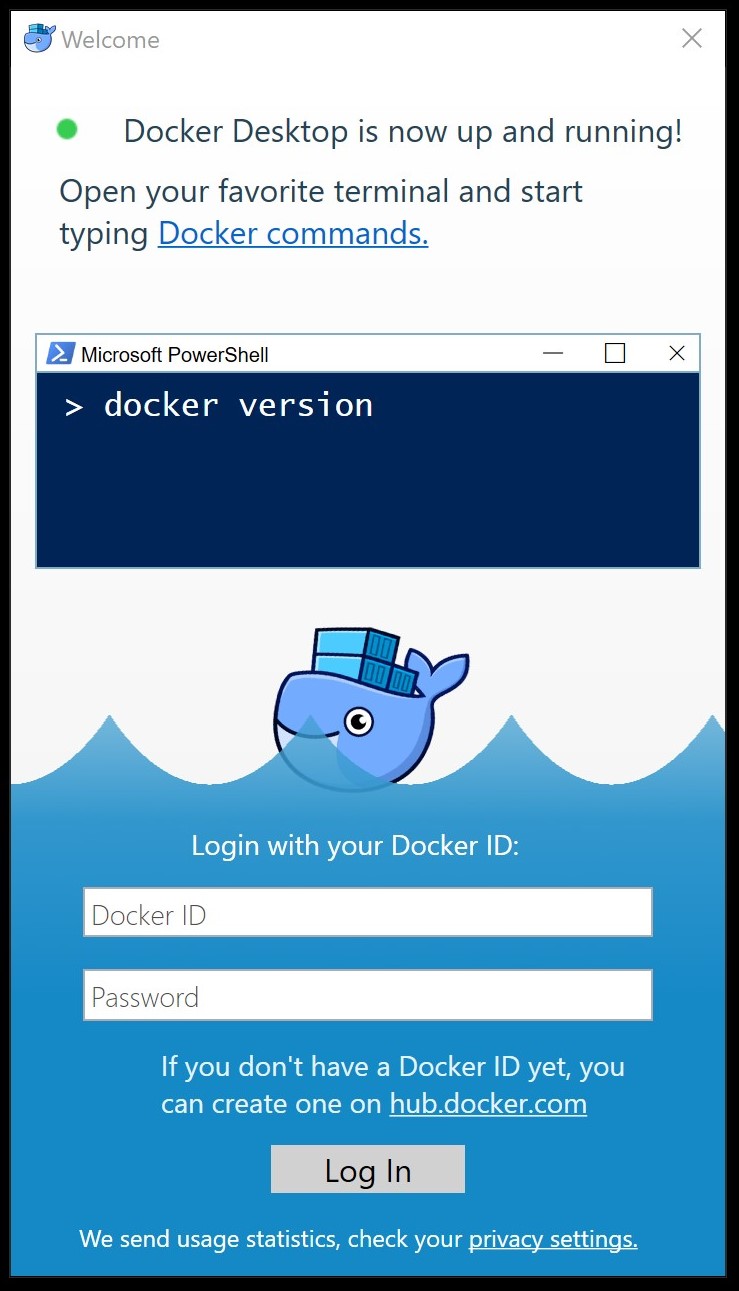
Login with your Docker ID and Password. Then right-click the white Docker logo in the system tray and click on Settings. You will get the screen below:

I uncheck the “Start Docker Desktop when you log in” and the “Send usage statistics” boxes.
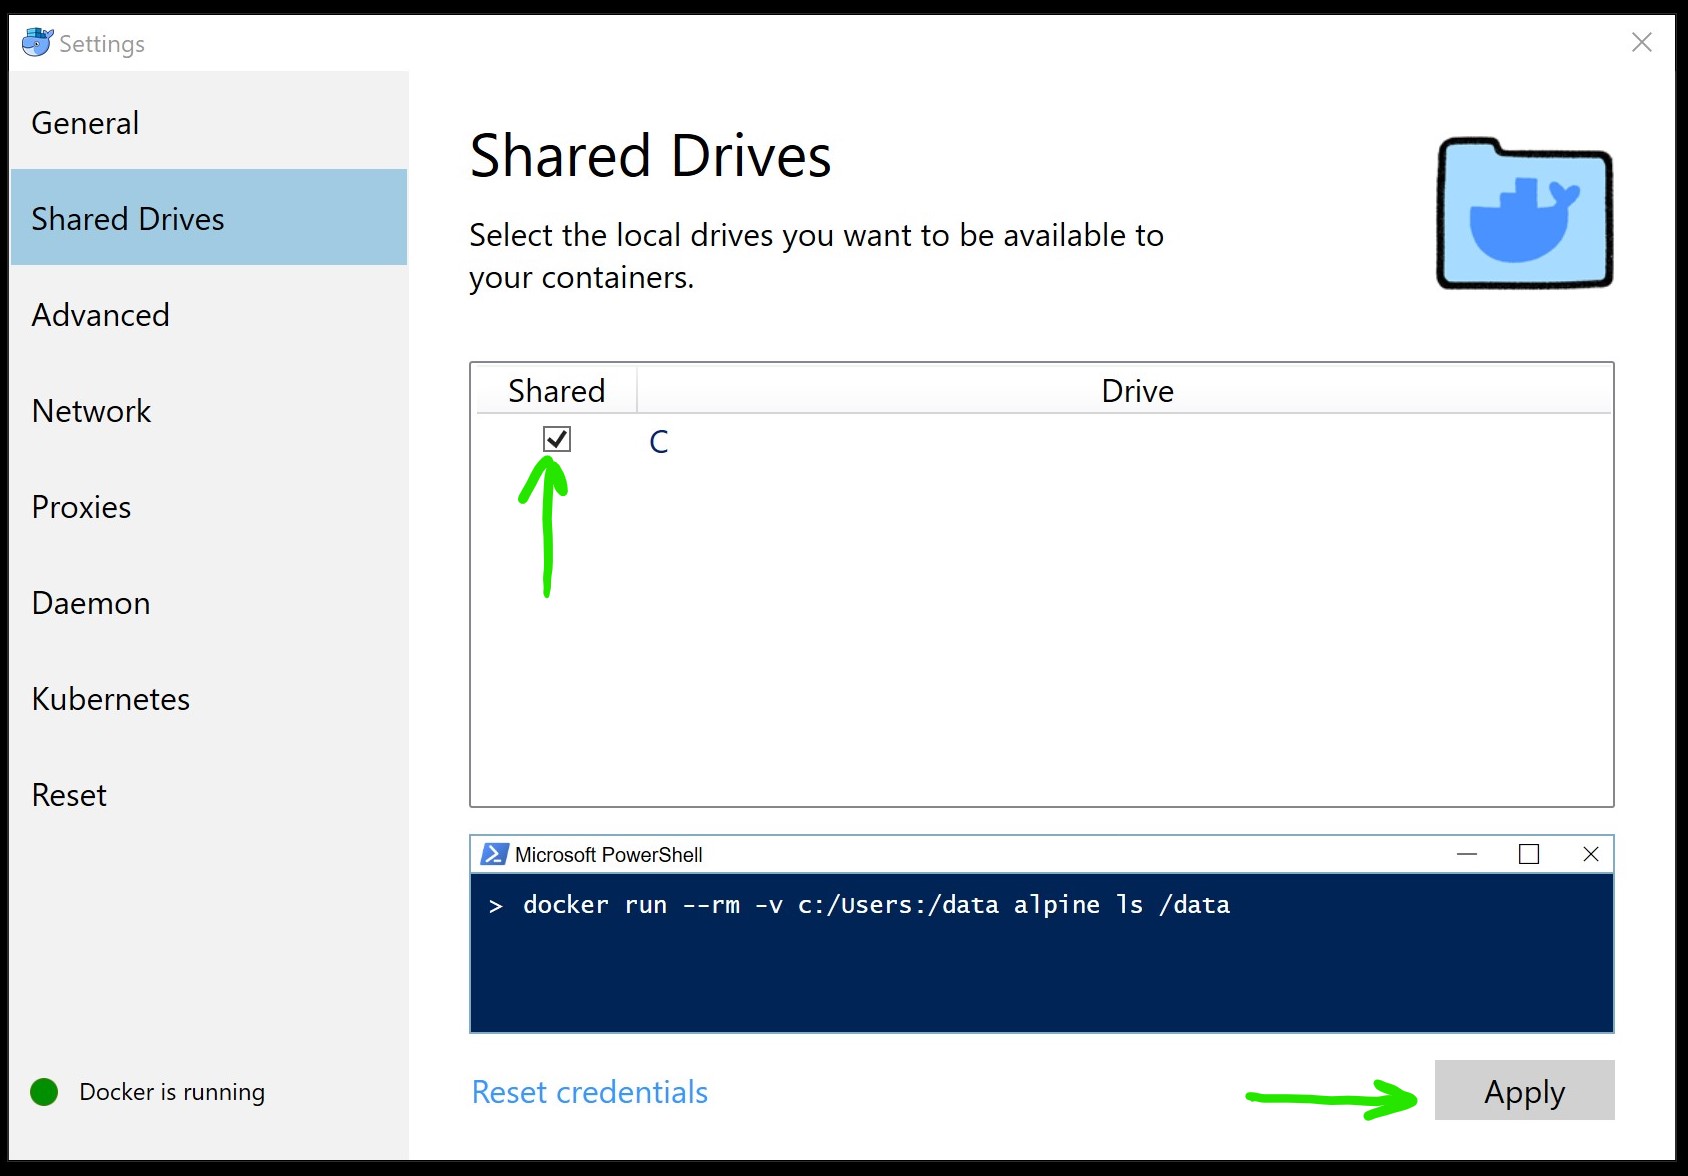
Under the Shared Drives option, you can choose to share your local drives with Docker Desktop for Windows, so that they are available to your Linux containers. In the screenshot below, I don’t have any external drives, so I just checked the C drive and clicked Apply:
For now, don’t worry about the other options like Advanced, Network, Proxies, Daemon, Kubernetes and Reset.
Note: One thing to note about the Advanced tab. If you want to change any of these settings (i.e. RAM, CPU), it will restart the “MobyLinuxVM.”
Right-click Powershell (*not* the ISE version) and run-as Administrator. Type, docker version and hit Enter. (see screenshot below)
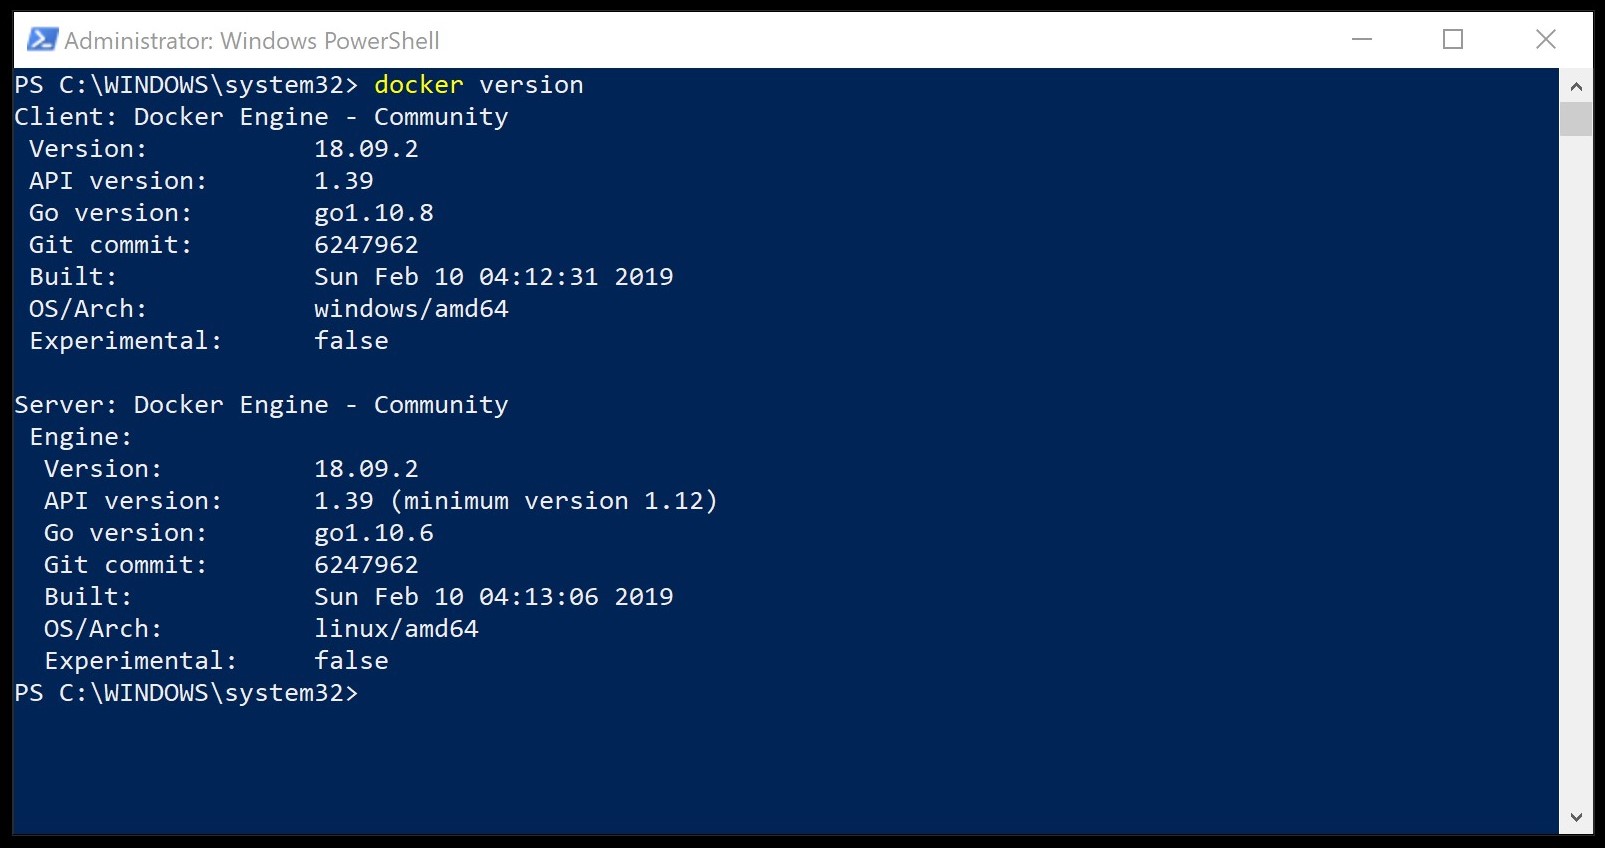
This confirms that you have the Docker engine running on your laptop. Let’s try it out by pulling your very first image:
Type, docker pull hello-world (see screenshot below):
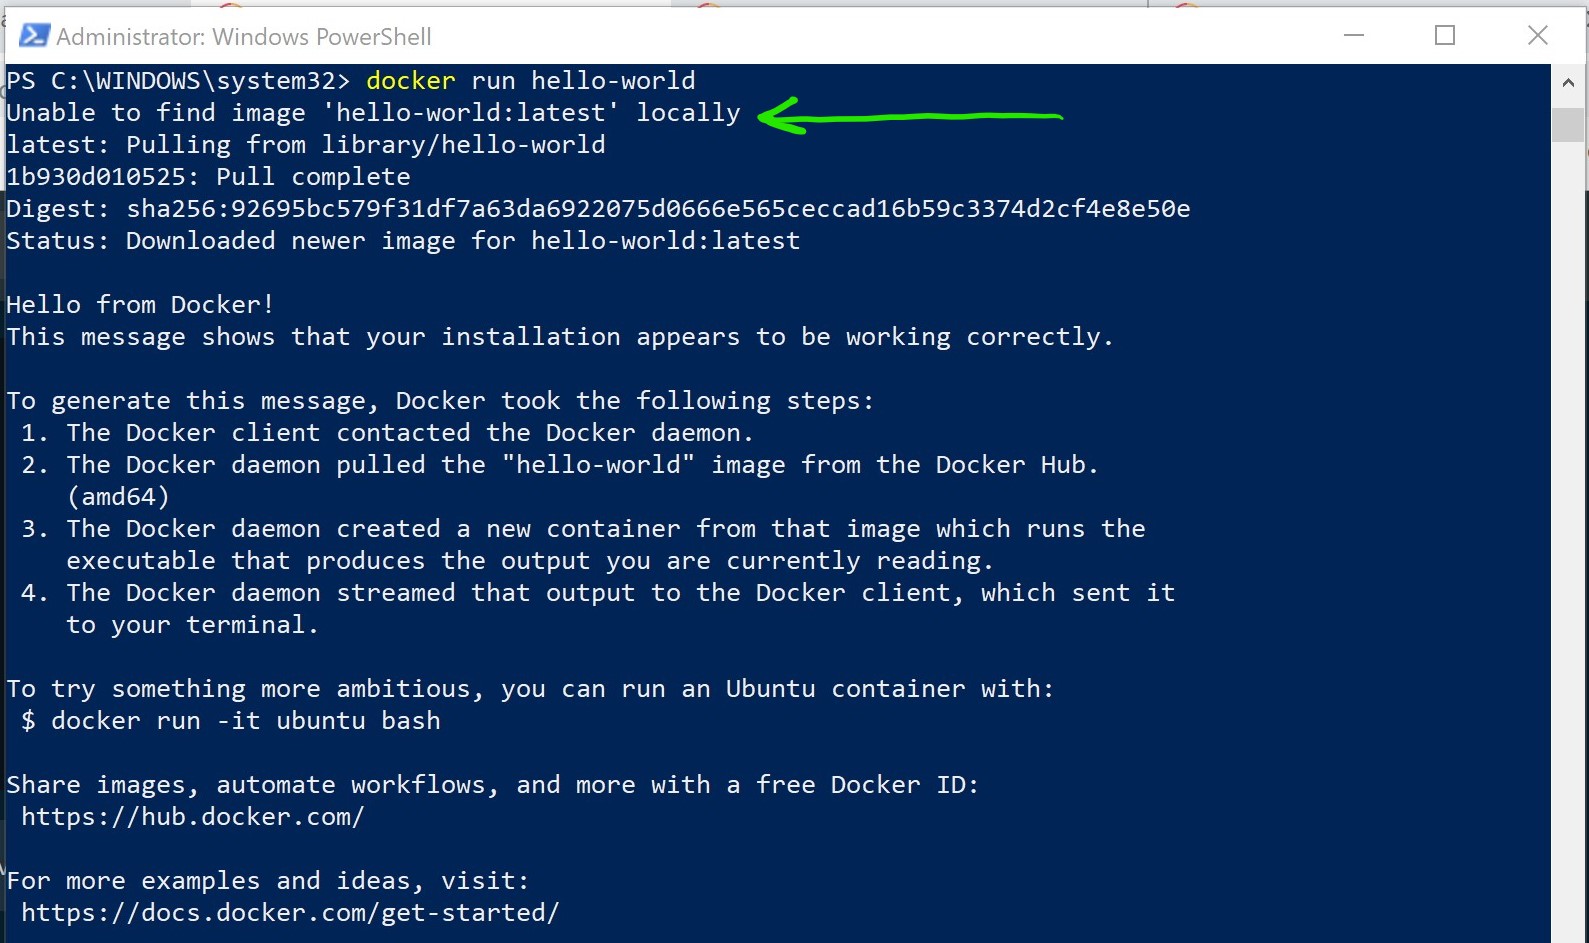
By running the command above, you are first checking your local computer for that image. Since it was unable to find it it “pulled” it from the docker hub or image repository. Read the steps 1-4 to understand what happened in the background.
In the next blog post, we will go deeper into Docker Containers, Services, Swarms, Stacks and Deployment.
Hi Mohammad
Very helpful article… I am just curious if SQL container on Windows/Linux support in production environment.
Regards